Sunday, March 11, 2012

floors, panels, cubbies oh my

Have I told you before that I think my brother is a rock star? Well, he is. A couple weeks ago, he came over and helped fixed the rotten part of my basement floor. He brought his saw and know-how and taught me a whole bunch about wood etc. Of course, I wasn't allowed to touch the saw or do the work. That got me to thinking...I need to learn how to use a saw. I looked into a few courses for Home Repairs/Power tools 101. There are a couple that I may just sign up for this spring. A girl needs to be always learning when she owns a century-old house. Thank you Jonathan for your skill, knowledge and patience. The patch looks fabulous. 


 Of course, all that hard work of pulling up floors resulted in the death of my hammer. I think I bought that hammer when I first moved out of my parents place some 12 years ago. Oh, the memories...oh, the pictures it helped me hang.


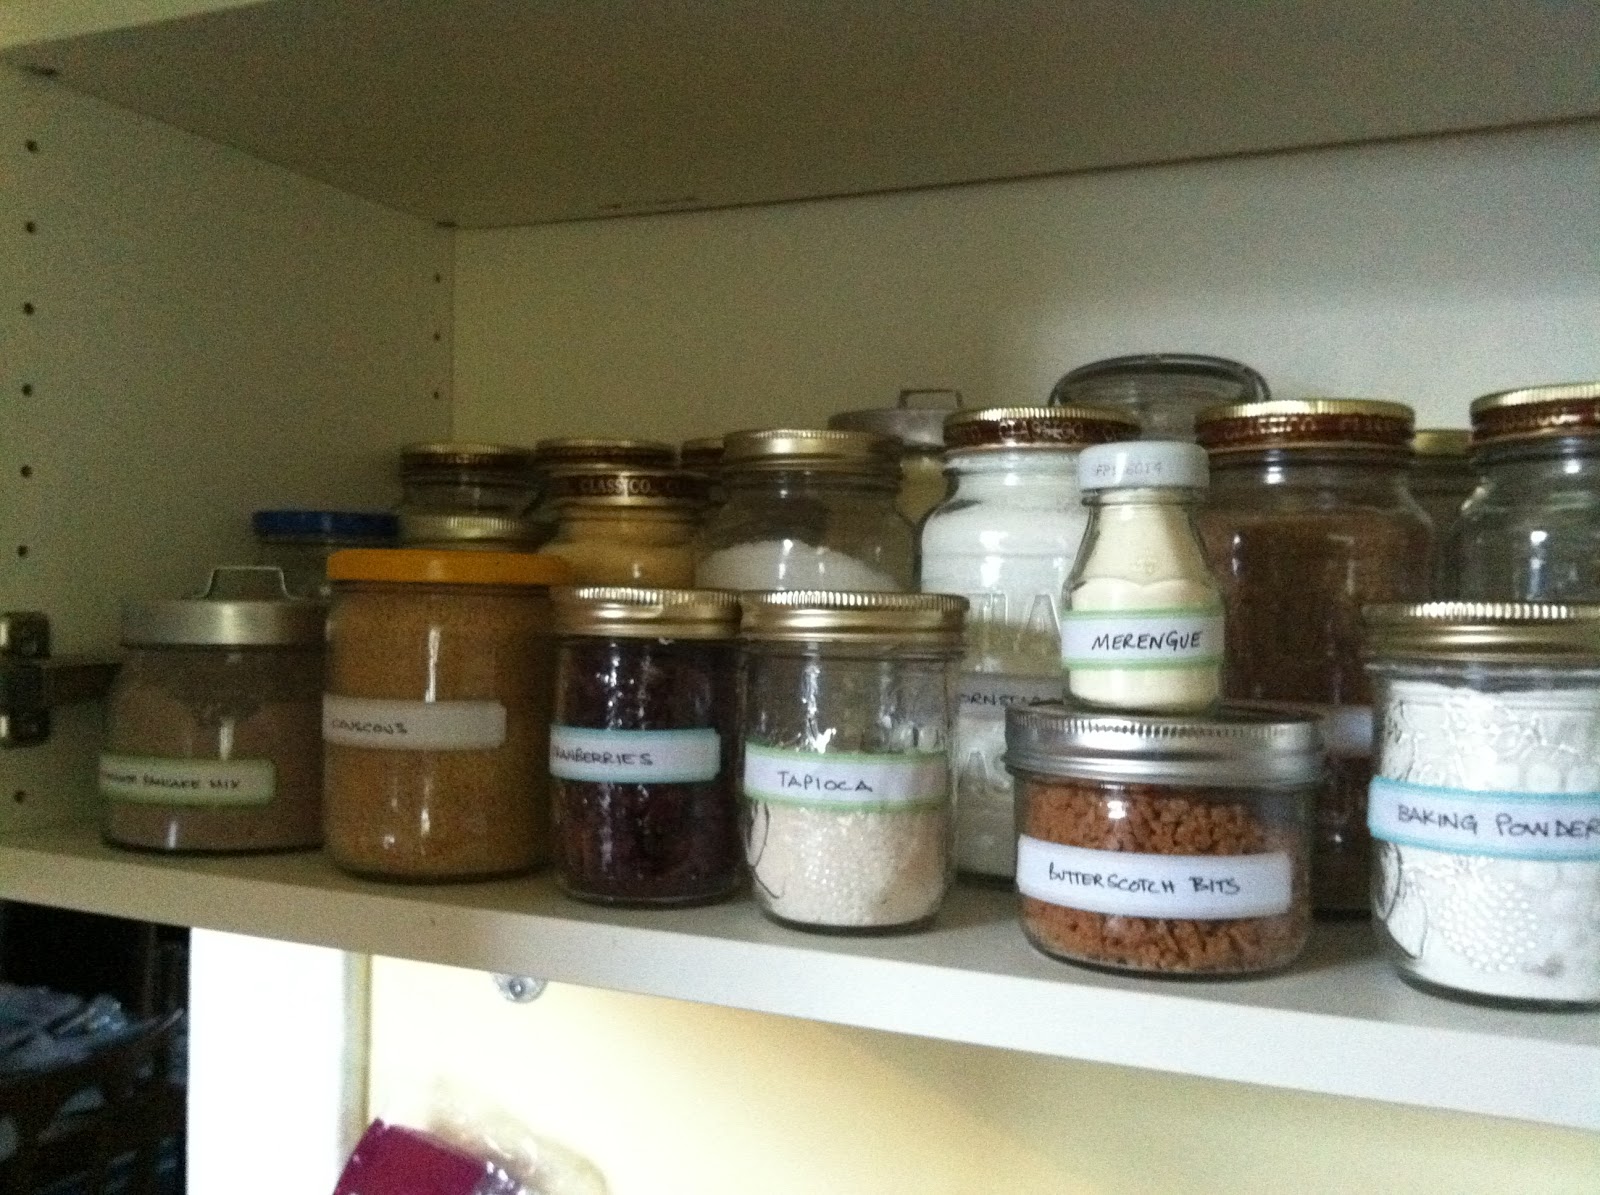
In other exciting news...ok, maybe not for everyone but definitely for me. I labelled my jars with Martha Stewart's Avery labels (Love. them.). The dream is to bring them out of the cupboard and display them in the open like here or here. For now, they remain hidden behind closed doors until I find the perfect shelf/display cabinet.


If you clicked on the links above, you would have discovered my new love affair with pinterest. Oh yes, I have fallen victim to its charms.

The adventure in the basement continues. I installed wall panels to close in the laundry/storage room so it isn't such an eyesore when you get to the bottom of the stairs. Ikea KVARTAL curtain system works like a charm and I am really impressed with how it looks. Here's a few shots of the process.


Before

The panels

The instructions?

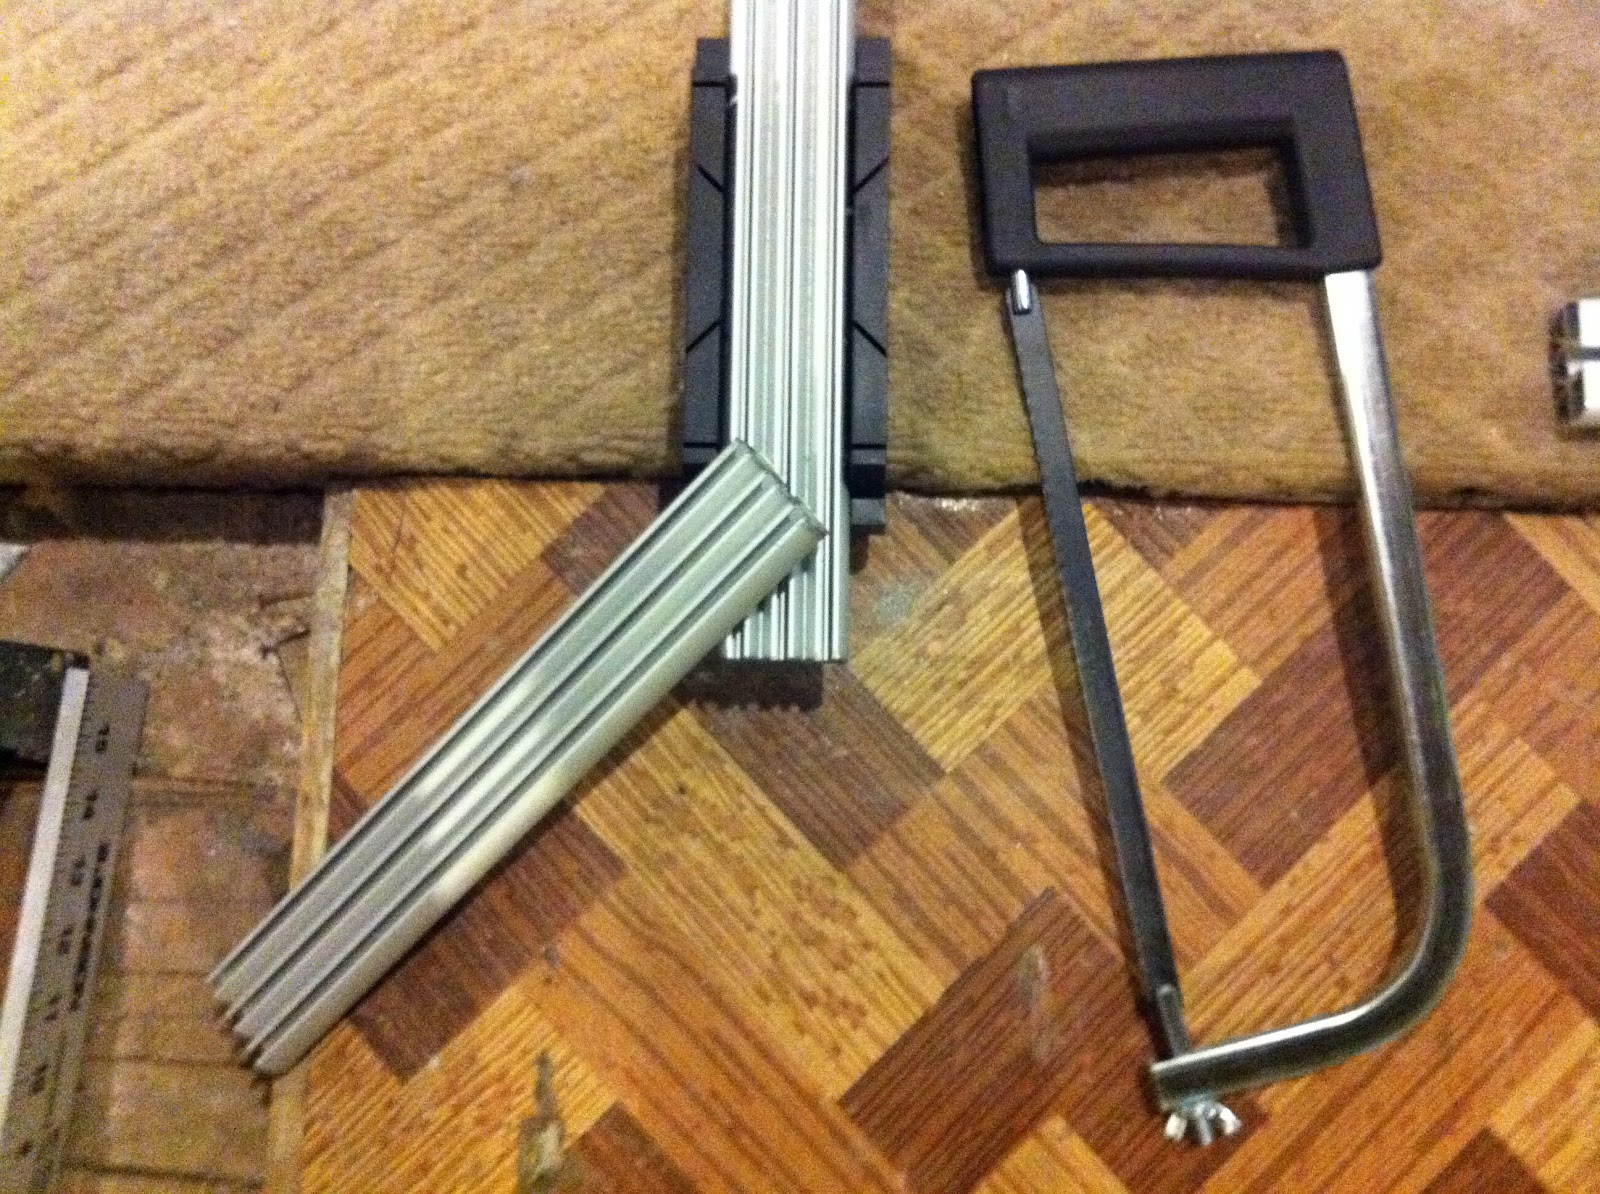
It even has its own mitre saw...best quality ever (insert sarcasm)
Look ma, I cut through metal. Had to cut to proper length
Leftover pieces?!?
After - from the stairs

After - looking into the storage room

After - looking towards the stairs

I also bought and installed a simple pull down blind to cover the tool/paint cubby in the stairwell.


Blind open
Blind closed

Can I get a collective ooooh?


The next step is to start sanding the floors in the guest room/art studio. I think I am putting off the job even though I researched how to paint floors and found a great DIY site that seems straightforward. My shopping list is ready but I just need to summon the will to start. Good thing my week is busy so I can put it off until at least next weekend.

Sunday, March 4, 2012

1912 to 2012


This year marks the centennial for my magic house. It also marks the 100th anniversary for other Calgary institutions such as the Grand Theatre, the Calgary Stampede and Calgary Parks & Recreation. 1912 marked the first really boom in this city.  At the turn of the century, there were just over 4,000 people who called Calgary home but by 1912, more than 44,000 lived here. That's a 1000% increase in just over a decade. The town became a city and needed housing, culture and activities. In many ways, Calgary is entering into another cultural shift as we move from the cowboy culture to an arts/engineering fusion. There are exciting things happening in my town.

In light of this major anniversary, I have been doing some research on my little place. I often say if there are ghosts in this house, they are happy ones because there is a sense of happiness within these walls. It is like the house smiles. Ok, that is a wee bit out there...maybe it's just part of the magic. I digress. My research has gone beyond finding various treasures (aka delivery slips) beneath the layers of linoleum.


Digging around the Glenbow Museum Archives online database, I stumbled across a picture of my house from 1912/13. It has changed quite a bit since the picture with an addition on the back but the roof line and windows on the side of the house are definitely indicators of the magic house. My house is the second one from the left.


I also looked into the 1916 Canadian census to see if I could the name of an early resident...if not the first people living here. I hope to eventually find every name of the owners to see what I can learn. You can't really see it in this size of the image but the second section from the bottom lists the residents at 1615 - William, Ethel & Arthur Gibbies(?) Not entirely sure of the last name.


My plan is also to have a neighbour BBQ sometime this summer. A number of houses on the block were also built in 1912 and it is a miracle that they haven't been bulldozed to build condos. And it may be good way to connect with my neighbours. Stay tuned for details.

Throughout the year, I want to take pictures of buildings that were built in 1912 as well so they will periodically show up on the blog too...like the Imperial Tobacco warehouse that was recently converted to condos.


I recently attended the 100th anniversary celebration of the Grand Theatre (mentioned above). Here are a few photos taken during the event.


Please excuse the image quality. My camera has decided to kick the bucket so these are all taken with my iphone.

Sunday, February 19, 2012

Report from the basement

As it's the long weekend (yeah, Family day), I thought I would put some time and effort towards the work in the basement. One of the many things I am learning about this project is there are a million little steps that you have to do. For instance, I thought I had sanded all the mud from the hole patches but as I am painting, I stumble across one (or ten) I missed. But despite these "set-backs", progress is being made.


When I first started the project, I made a list of things I needed to do..here is an update:

1) Sand basement hall wall and last layer of mud; then re-sand - DONE
2) Vacuum after sanding- DONE
3) Prep Studio walls (patch and sand) - DONE
4) Fix hole in studio wall with drywall patch (mud, sand, repeat) - DONE
5) Buy better latch for studio window
6) Gyprock by stairs (mud, sand, repeat) - IN PROGRESS - One side at least
7) Pull up carpet (I think they glued the awful carpet down!!) - CANNOT DO :-(
8) Pull up lino - DONE
9) Dust/vacuum Studio - DONE
10) Move stuff to guest bedroom part of studio before prep - DONE
11) Buy baseboard for walls
12) Rent saw to cut baseboards
13) Learn how to do baseboards
14) Sand door/closet trim - DONE
15) Prime trim - DONE
16) Paint trim - IN PROGRESS (first coat done)
17) Prime basement hall& Studio walls - DONE
18) Paint basement hall wall & studio walls (using leftover blue paint from upstairs living room) - DONE
19) Decide floor treatment
20) Do floors
21) Learn how to do flooring
22) Re-paint chimney brick (over awful green paint) - DONE
23) Paint door - DONE
24) Paint closets - IN PROGRESS
25) Paint stairwell - UNSURE WHAT DIRECTION TO GO
26) Finish window casement
27) Buy new handrail & install so it is up to building code
28) Add bookshelves in hallway for built-in effect - TBD
29) Clean window wells - DONE
30) re-arrange furniture
31) Replace burned out light bulb
32) Fix door knob - I would also like to strip the layers of paint. Must research eco-friendly method.
33) Paint over ducts? (Can I do this?)
34) Put a door on the stairwell cubby....or perhaps built-ins because the space is not insulated.

New items include:
35) Spray paint ceiling vent (rather than buying new one) -DONE
36) Cut rotten wood (1' x 1') out from corner of studio
37) Replace wood

Now just a few more images on the slow progress:


And just one other small project, I am doing while the painting bug is in me. I am adding a small piece of gyprock to my bedroom wall (it was missing) where the intake grill goes...and then I am painting the grill as it was pretty rough looking.


Sunday, January 29, 2012

Bits and bobs

I didn't progress very far on the basement this week. It was a long week so I have given myself the grace to chill and rest this weekend. But I did sand the guest room/studio walls, doors and trim. I also added some sheet rock to the wall by the stairs - first time ever. Not sure I did it right but we will see. I also added a small piece of sheet rock on my bedroom wall where a piece has been missing since I moved in. And I need to mud both areas still - perhaps next weekend.

My attempt of sheet rock installation beside the basement stairs

My attempts to pull up the awful carpet were met with resistance because whoever installed the carpet super-glued it down to the plywood subfloor. I don't think that is normal but then again, I have never pulled carpet up before. And I thought the lino was going to be the difficult part.

The carpet may be permanent
In light of this challenge, I am not sure what I will do...may just clean the carpet well and perhaps with painted walls, it won't be too bad.


Today, I am doing lots of organizing...getting paperwork ready for the accountant, sorting through piles of magazines, partially re-organizing my kitchen cupboards. All inspired by Martha Stewart's new publication "Organizing." I am especially exciting about her new partnership with Avery Labels.


I love putting things in their place and finding that perfect container to hold my "treasures." This probably makes my mother laugh now because cleaning and organizing were not my strongest traits as a child. I remember the frequency of requests to tidy my room!


To wrap up, I am wondering if anyone can help me out...I am looking for the correct term for the latch above. Any ideas? I have a few of them and would like to replace them with non-paint coated ones.


Saturday, January 21, 2012

Travel wall & demolition time

In my last post, I promised to show the wall where I have framed and hung my travel pictures, mementos and souvenirs. It is in my sun room...my absolute favorite room. Alas, it is also the only room not heated in the house so I have not used it so much recently due to the ridiculous cold snap we just experienced.

Well, without any further ado...here is the wall:


Now, I know that I should have created paper replicas of the frames and planned it better but I was feeling like a free spirit that day so there are some wonky lines but I justify it by saying it is a wonky space.

My favourite thing is having tea in this room and remembering all the travel adventures. Speaking of travel, I booked another trip to Paris for April. This time with the sisters and mom. My plans for shopping during my last trip were thwarted due to "incompatible" traveling styles.

In other magic house news, I have started my basement "reno's". Here are some before shots:


This is the wonderful current paint on the studio/guest room walls

The stairwell with the horrendous carpet
The basement hallway wall

View from the studio to the stairs
Here is the hole I created by trying to remove an old pipe. It wasn't connected to anything. Just sticking out into the room.
The floors with the lino removed..there were only 6 different lino patterns discovered in the excavation.
The pile of lino...my neighbours must love me.

Safety first! I also wore gloves and a face mask because I think there may be asbestos...eeek!

I realized there are tons of little steps to do just the art studio/guest room and the stairs/hallway. Here is my preliminary list of steps (in no particular order):
1) Sand basement hall wall and last layer of mud; then re-sand - DONE
2) Vacuum after sanding- DONE
3) Prep Studio walls (patch and sand) - IN PROGRESS
4) Fix hole in studio wall with drywall patch (mud, sand, repeat)
5) Buy better latch for studio window
6) Gyprock by stairs (mud, sand, repeat)
7) Pull up carpet (I think they glued the awful carpet down!!)
8) Pull up lino - DONE
9) Dust/vacuum Studio - DONE
10) Move stuff to guest bedroom part of studio before prep - DONE
11) Buy baseboard for walls
12) Rent saw to cut baseboards
13) Learn how to do baseboards
14) Sand door/closet trim
15) Prime trim
16) Paint trim
17) Prime basement hall& Studio walls
18) Paint basement hall wall & studio walls (using leftover blue paint from upstairs living room)
19) Decide floor treatment (I was just going to paint the floors white but there is a section (1 ft x 1 ft) that appears rotten so will need to replace). Maybe I will do black/white checker tiles for a retro look.
20) Do floors
21) Learn how to do flooring
22) Re-paint chimney brick (over awful green paint)
23) Paint door
24) Paint closets
25) Paint stairwell
26) Finish window casement
27) Buy new handrail & install so it is up to building code
28) Add bookshelves in hallway for built-in effect - TBD
29) Clean window wells
30) re-arrange furniture
31) Replace burned out light bulb
32) Fix door knob
33) Paint over vents?? (Can I do this?)
34) Put a door on the stairwell cubby....or perhaps built-ins because the space is not insulated.

I hope to be more active in my blog this year but life seems to keep going at a quick pace...no promises. Sorry

Sunday, December 11, 2011

Time to catch up

I can't believe there is only two weeks until Christmas. I feel like I missed the fall season somehow...it probably had something to do with the fact I was away in France for most of October so missed Thanksgiving and Halloween...our typical holiday time markers. When I got back, Calgary was fully into the winter and all things Christmas.

Nevertheless, it has been a fairly productive month since returning from the trip. I was able to cross a few things off my house to-do list and other items that crop up.

For starters, I finally chose a paint color for my bathroom. It has been a poo-brown for the last year (color chosen by past owners). I thought I could live with it but no, I am just not that kind of girl. So after 3 weeks of color swatches painted on the wall, I rolled the dice and chose Coventry Grey from Benjamin Moore. Lovely choice (bottom right hand corner of the swatch colors).


Painting a small space with 9 ft ceilings, a claw foot tub and full circle shower curtain rod created some challenges such as where to put the ladder to reach the ceiling.  Tada!


The bathroom mirror also didn't seem to fit but rather than buy a new mirror, I thought I would paint it. I found some "hammered silver" spray paint downstairs (again from the past owners) and did a little DIY on the mirror.


Now for the final reveal...


Doesn't the picture below look so wintery and lovely? It's my backyard after a recent snowfall.


It just gets you in the Christmas spirit...and that does require some decorating. But because I will be "home" for Christmas, decorating is minimal.


I didn't want to get a real tree because I will be away. So I reached deep into the "Martha Stewart" within to find a suitable alternative. I remembered that some cut branches from the apple tree and bushes were just "hanging out" in my garage. So I spray painted them white and decorated away. In my mind's eye, it was going to look more polished but I like the homemade look that resulted.


The season also requires some baking so I whipped up some goodies...love these cookies. See the recipe here.


I finally feel quite settled into my little house now. It has been just over a year and no complaints...best purchase ever. And it still feels magical. I will try to be more consistent on the magic house blog and I already have the next post planned...stay tuned for the travel art/collection pictures reveal.